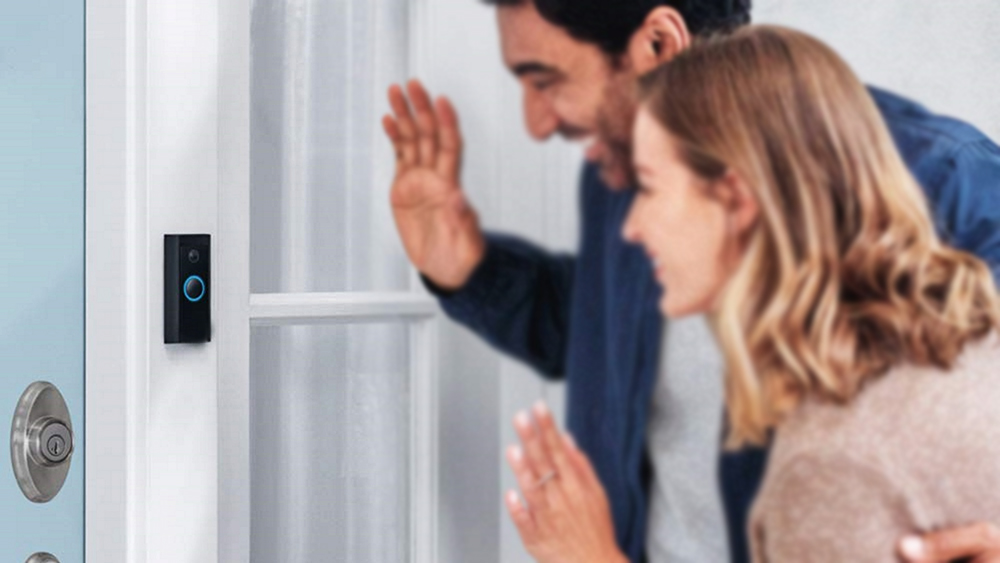
Security Camera Installation
Security camera installation involves setting up surveillance cameras to monitor and record activity in and around your home or business. Here are the basic steps:
Plan Your System: Determine the areas you want to monitor, such as entry points, driveways, and common areas. Decide on the types of cameras needed (indoor, outdoor, wired, wireless).
Select Your Equipment: Choose cameras with the desired features, such as high resolution, night vision, motion detection, and remote access. Ensure compatibility with your recording device (DVR, NVR, or cloud storage).
Prepare the Installation Area: Ensure the locations for the cameras have access to power and are within range of your network (for wireless cameras). For wired cameras, plan the cable routes.
Install the Cameras: Mount the cameras securely using the provided hardware. Outdoor cameras should be weatherproof and positioned out of reach to prevent tampering.
Run Cables: For wired cameras, run the cables from the cameras to the recording device, securing them along the way to prevent damage or tampering.
Connect and Power Up: Connect the cameras to the recording device and power them on. For wireless cameras, connect them to your Wi-Fi network.
Configure the System: Set up your recording device, configure camera settings (such as motion detection zones and recording schedules), and ensure remote access is enabled if desired.
Test the System: Verify that all cameras are functioning correctly, have a clear view, and are recording as expected. Adjust the camera angles if necessary.
Secure Your System: Change default passwords, keep the firmware updated, and ensure your network is secure to prevent unauthorized access.


